Roofing by Hernandez ensures that each step in building your roof is done with a level of precision that you can count on. Each step in the process is important to do properly so your home will have protection for years to come. If you are looking for a roofer to install a new roof, it would be in your best interest to do a little research to know the steps it takes to install a roof properly. Also, do your research on the roofer you are considering before hiring that company. If you are interested in what goes into building a roof, you’ve come to the right place. Here we have broken down the process into steps for you to understand.
Identify Local Building Codes & Obtain Permits
Make sure to check with your residential local building codes regarding roofs. Certain cities require only particular materials or a specific number of shingles. This is to ensure aesthetic continuity in the community and to prevent any untoward incident uprooted roofing materials cause during any possible violent weather conditions. Before starting, obtain any building permits to avoid any costly local civil code penalties.
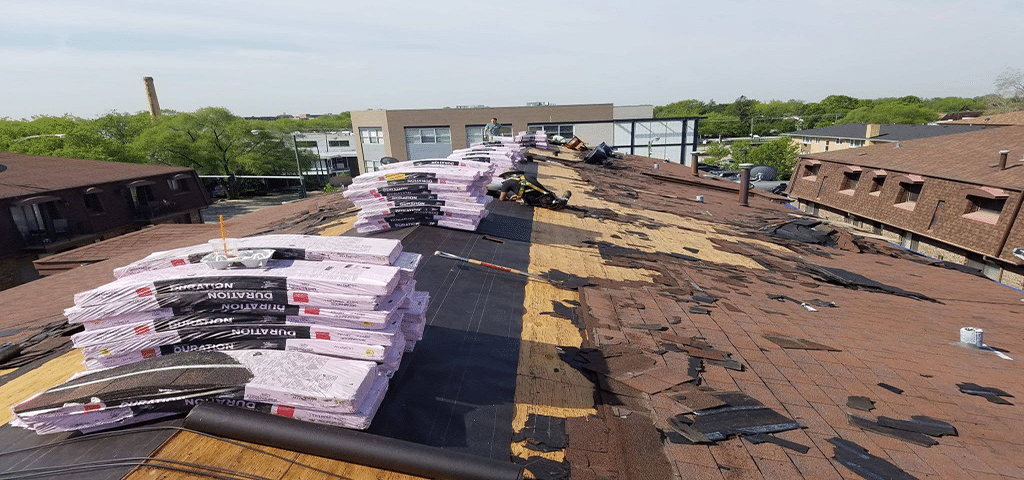
Old Roof Tear-Off Before a new roof can be installed on an existing structure, the old roof must be removed in its entirety. Be careful to ask what your roofer plans to do and check to make sure they aren’t skipping steps. There have been fly-by-night roofing companies known to lay new roofing materials over the old roof. This is a sure sign that your roof isn’t being properly installed. Typically, you will see a shovel being used and all of the trash being thrown away first before new materials are brought out. It can be time-consuming to tear off all old roof shingles. If pieces of the old roof are left behind it can tear into your new shingles which can shorten the life of your roof. It is very important to not skim past the steps in the process because the roof is vital protection for your house.
A Drip Edge is Installed: A drip edge is a metal flashing that is installed around the edges of the roof and allows water to drain off which prevents shingles curving and from ruining fascia boards. The drip edge overhangs the sides of the roof and is fastened to the eaves before the underlayment is installed. The drip edge will need to be nailed every couple of feet to keep it firm and secure.
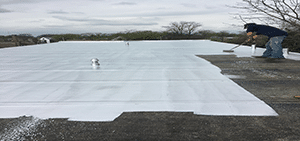
Underlayment is Rolled Out: Underlayment is important because it can prevent ice dams and strong winds from allowing water into the house. This material self-sticks, so the backing is peeled off and the underlayment is applied as flat and straight as possible to the deck. Depending on the temperature (warmer is better) it might stick on its own or require a few nails to keep it in place.
Cover the Roof with Felt: Felt or tar paper put on next. It’s a simple process of rolling out the material in short sections and stapling it in place. This is used to prevent water from getting under the shingles. The material should overlap the one laid before to create adequate coverage so make sure this is done correctly.
Install Drip Molding & Waterproof Roof Valleys: Drip molding leads rainwater straight to the gutters of your roof. A chalk line is used to align the drip molds which are typically installed by 12 inches. Roof valleys help to direct rainwater away from the roof. Then the felt paper is installed with different methods to protect the roof valleys to allow the specific structure of the valley coverage. Now that the underlayment and drip edge is complete, it’s time for the shingles to start.
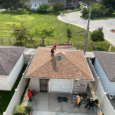
Starter Shingles Then Install Shingles: The first step is to create the first row of flat regular shingles. The roofer needs to lay starter shingles first. Shingles are meant to overlap one another for correct shingle coverage. This creates a barrier that prevents leaks by keeping the water from running in between the seams of the first shingles. Once the flat row is nailed then the shingles are installed in an overlapping pattern and secured with a nail gun. The roofer will work his way up and across hammering each nail about 2 inches from each end of a shingle. Then will secure another nail an inch above each cutout. Each shingle at the end of the row should be cut to size, then repeating to the ridge. The shingle is then bent over the ridge so that each side is equal and it’s nailed into place. The shingle process can seem time-consuming but because it’s the last stretch it’s probably is the most fun and easiest part of roofing a house.
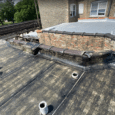
Flashing is Installed: This extra step that should be completed to ensure a tight seal around structures on the house. Flashing will be installed around anything that’s on the roof such as sunlight, windows, or chimney.
Cap the Ridge: You may have noticed the top shingles that cover the very peak of your roof, those are specific shingles designed for capping the ridge at the peak of your roof. These tougher shingles may require longer nails as they are securing many layers of shingles. These also give the roof a finished look that is great for curb appeal.
Clean & Apply Roofing Seal: Make sure that your roofer removes all trash and any debris leftover from the job. Then they will seal the exposed nails and also use roofing adhesive to create a watertight seal around the exposed nails. This helps to protect the nails from becoming loose during bad weather conditions.
So now you will have a better idea of what it takes to build a shingle roof. As you can see, there are many steps required to create a stable structure to protect your home. So you can see how important it is to choose the correct team or company to complete the job. Please call us for your free estimate.